Bi-Color Corner Bookmark
Supplies:
1 3" X 5" Index Card
1 pencil
1 ruler
1 pair of scissors
2 3" by 3" Post it Notes
1 glue stick

Step 1: Using the ruler and pencil, mark the 2.5" point across the width of the index card.

Step 2: Fold both sides of the card to the middle, forming a triangle and using the handle of the scissors as a bone folder.
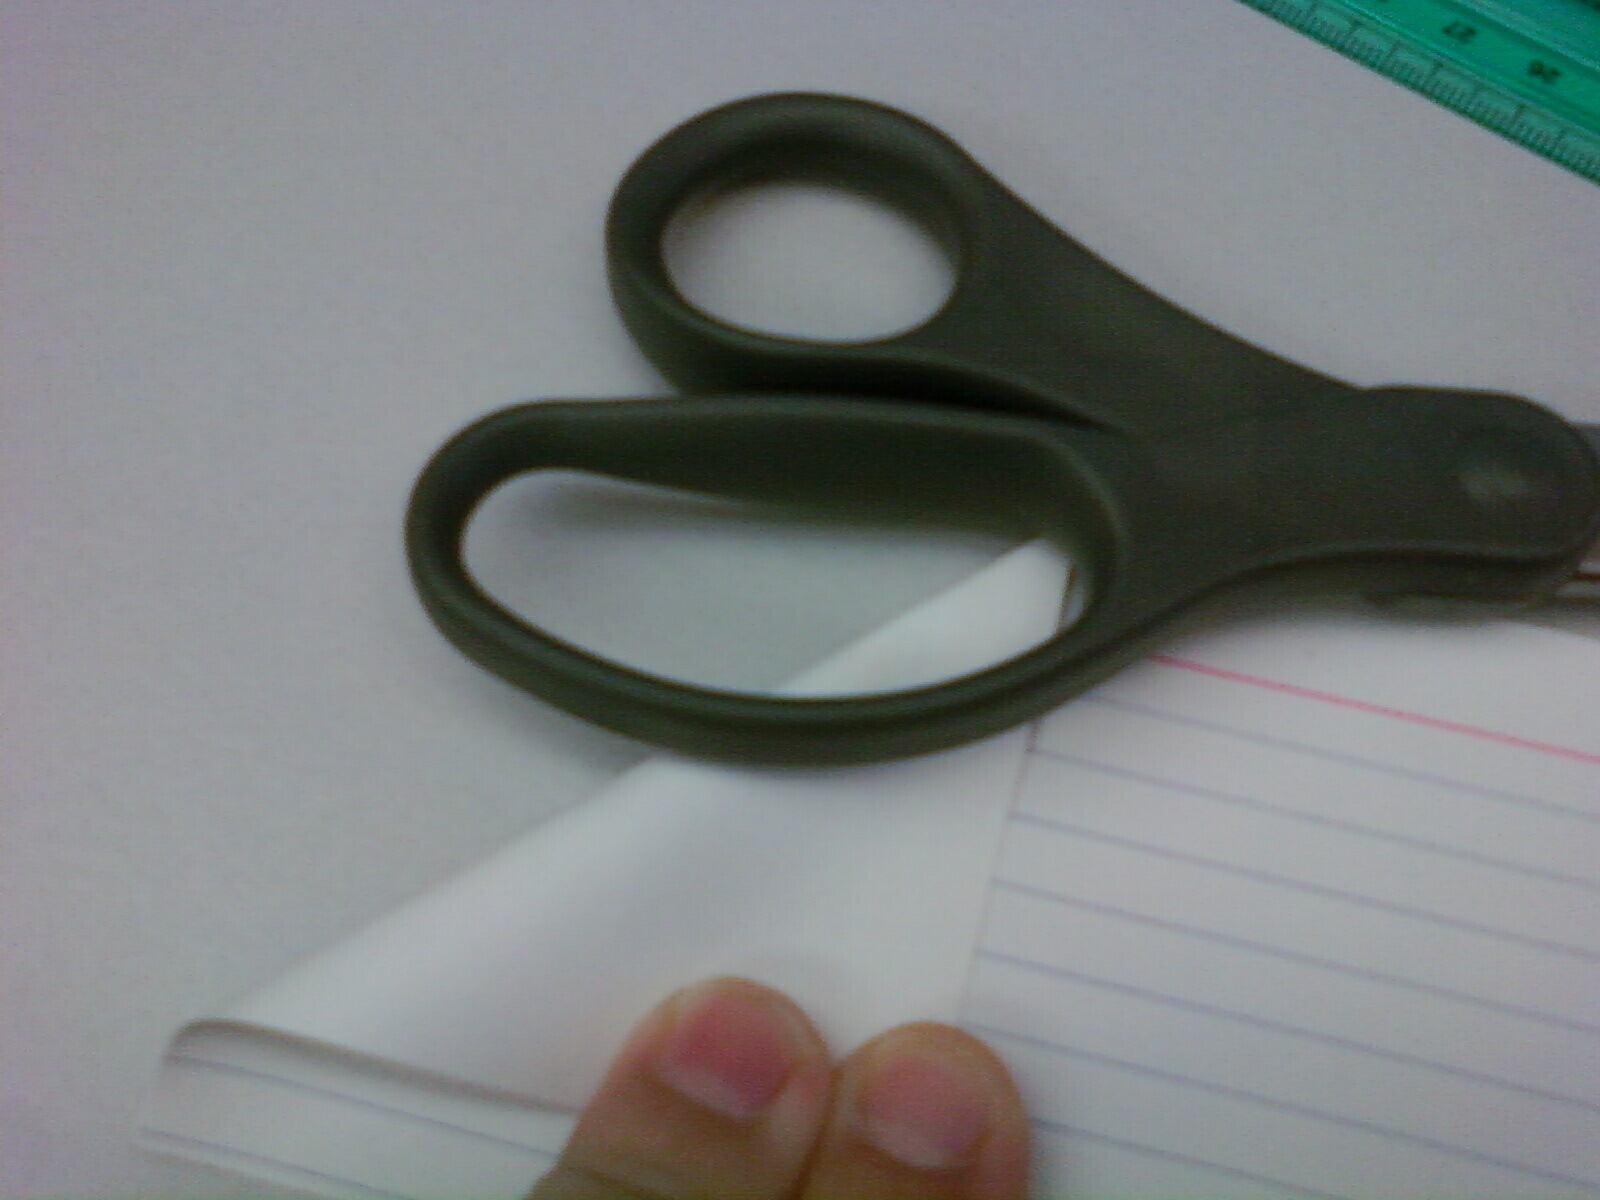
Step 3: Using the ruler, draw a diagonal line through the middle of both Post It notes. Cut along the line so that you have two even halves for a total of four triangles. Put 1 set aside for another project.

Step 4: Apply glue stick to the back of the Post It note triangles, to include the sticky strip. Lining up the corner of the Post It note with the corner of the index card triangle, glue it down on the index card. Ensure that the sides are completely glued down. Glue the other Post It note on the other side.

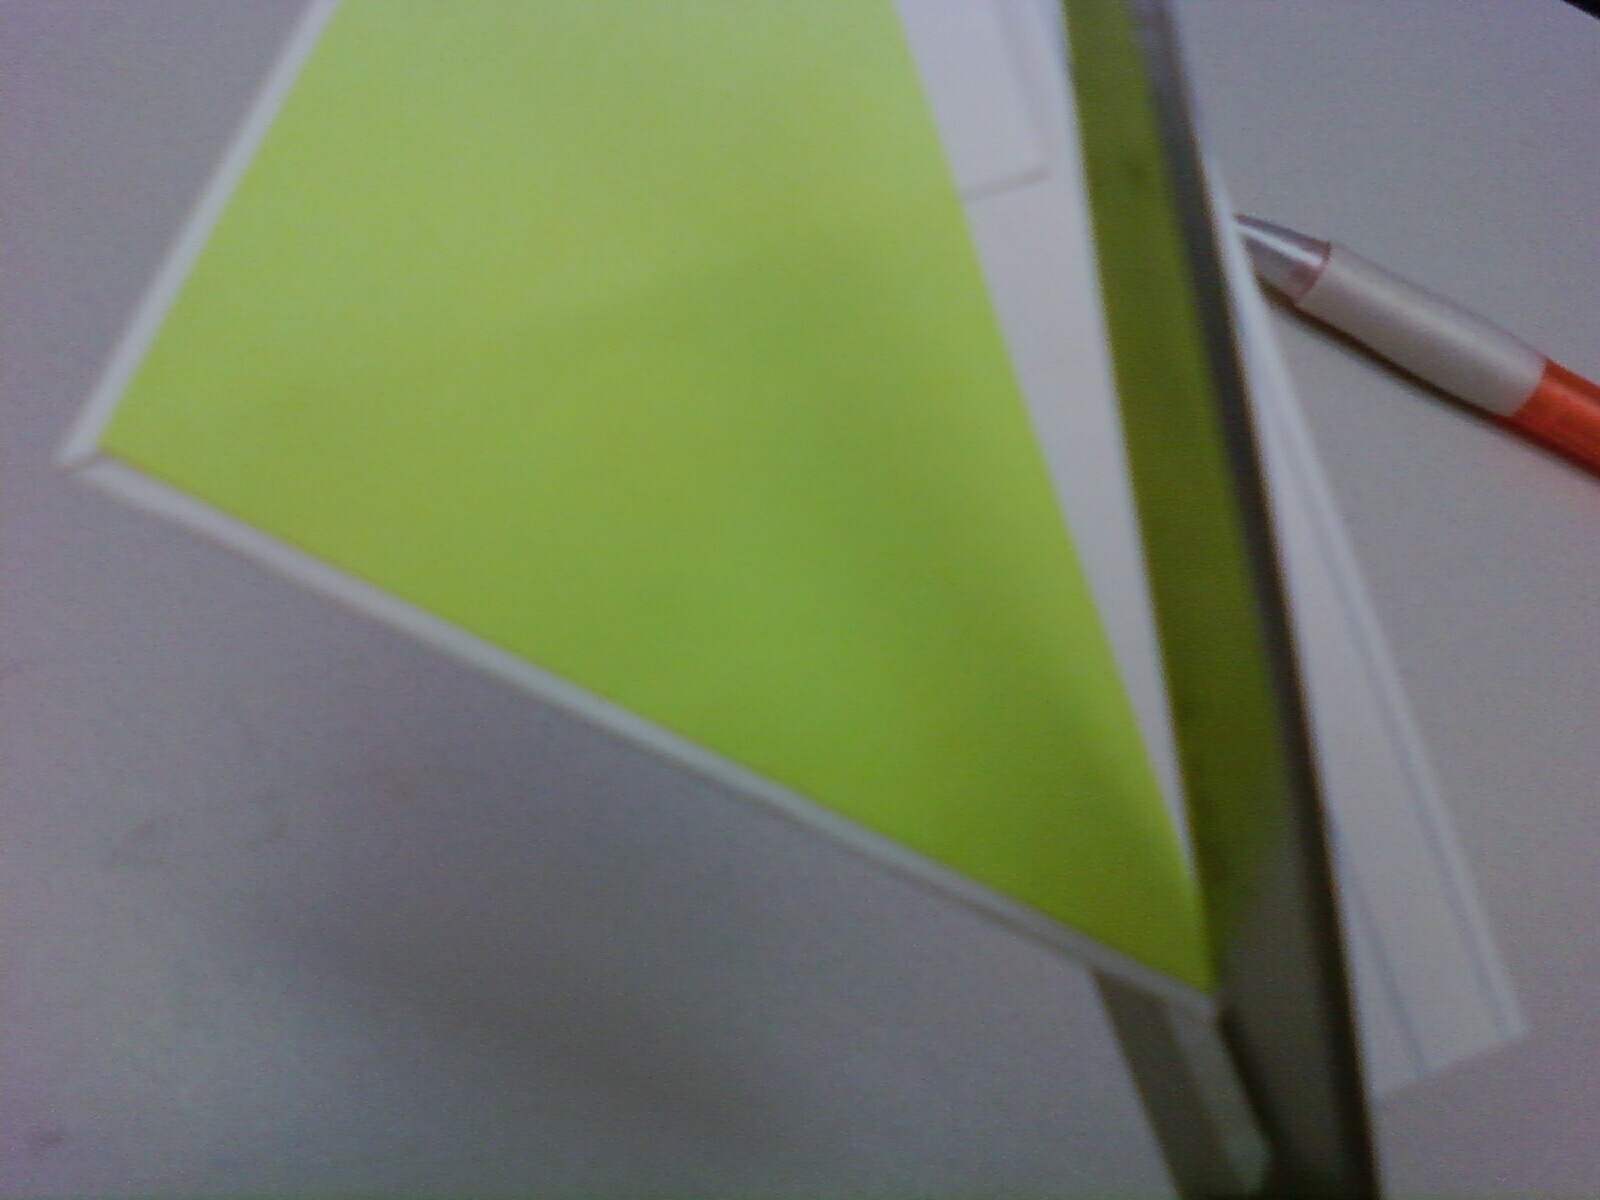
Step 5: Cut approximtaely 1/16" off the bottom of the marker. I ended up cutting into the Post It note a bit to ensusr the bottom was even.

Step 6: And here you can see my finshed product being used on my calendar.

I thought it came out very nice considering I was in a hurry and was limited to what was on my desk. Maybe I need to bring some stickers or cutouts from home to embellish it? :)
No comments:
Post a Comment